Setting Up a Free and Open Source MDM with FleetDM on Proxmox
I’ve been wanting to get real visibility into every device on my home network for a while now. Laptops, phones, tablets, all scattered around the house with no oversight unless something breaks. One day I just decided I wanted to self host a proper MDM instead of continuing to live without one, and FleetDM was the tool I kept coming back to.
FleetDM is an open source device management platform. It handles endpoint visibility, osquery based reporting, and MDM style management for macOS, Windows, Linux, iOS, iPadOS, and a few other platforms. It’s exactly the kind of tool I wanted for this project, something open source that I control instead of a SaaS product I’m renting.
Once I decided to do it, the plan was straightforward: spin up an Ubuntu server on my Proxmox host in my homelab and self host Fleet on it. This post covers standing up Fleet itself. Enrolling all my devices, two MacBooks, some iPads, iPhones, a Windows laptop, and a handful of other things, is its own project I’ll cover separately.
The plan
My Proxmox host is a small home server. Fleet needs Docker, and I wanted it isolated from everything else already running on that box, so the plan was to give it its own dedicated Ubuntu server VM rather than tucking it into an existing container. That VM is the only thing this post is about: getting a clean, dedicated place for Fleet to live so it can start managing the rest of my devices.
Creating the VM
Fleet’s own deployment guide walks through creating a VM and running through the Ubuntu Server installer manually. Since I wanted this to be repeatable and scriptable, I used the Ubuntu 24.04 cloud image with cloud-init instead of the interactive ISO installer. Same end result, an Ubuntu 24.04 VM, just no clicking through installer screens.
First I grabbed the cloud image:
curl -L -O https://cloud-images.ubuntu.com/noble/current/noble-server-cloudimg-amd64.img
Proxmox’s ability to pull large files directly from certain CDNs has been flaky for me in the past, so I downloaded it locally and copied it over with scp:
scp noble-server-cloudimg-amd64.img root@10.0.0.20:/var/lib/vz/template/cache/
Then, on the Proxmox host itself, I created the VM and attached the cloud image as its disk:
qm create 106 --name fleet --memory 4096 --cores 2 --cpu host \
  --net0 virtio,bridge=vmbr0 --scsihw virtio-scsi-pci --ostype l26 --agent enabled=1

qm importdisk 106 /var/lib/vz/template/cache/noble-server-cloudimg-amd64.img local-lvm

qm set 106 --scsi0 local-lvm:vm-106-disk-0
qm set 106 --ide2 local-lvm:cloudinit
qm set 106 --boot order=scsi0
qm set 106 --serial0 socket --vga serial0
qm resize 106 scsi0 20G
The cloud image ships with a small disk, so the qm resize call is what actually gets me to the 20GB Fleet’s guide calls for as a minimum.
Next, cloud-init configuration for networking and access:
qm set 106 --ipconfig0 ip=10.0.0.90/24,gw=10.0.0.1
qm set 106 --nameserver 1.1.1.1
qm set 106 --ciuser ubuntu
qm set 106 --sshkeys ~/.ssh/id_ed25519.pub
And then start it up:
qm start 106
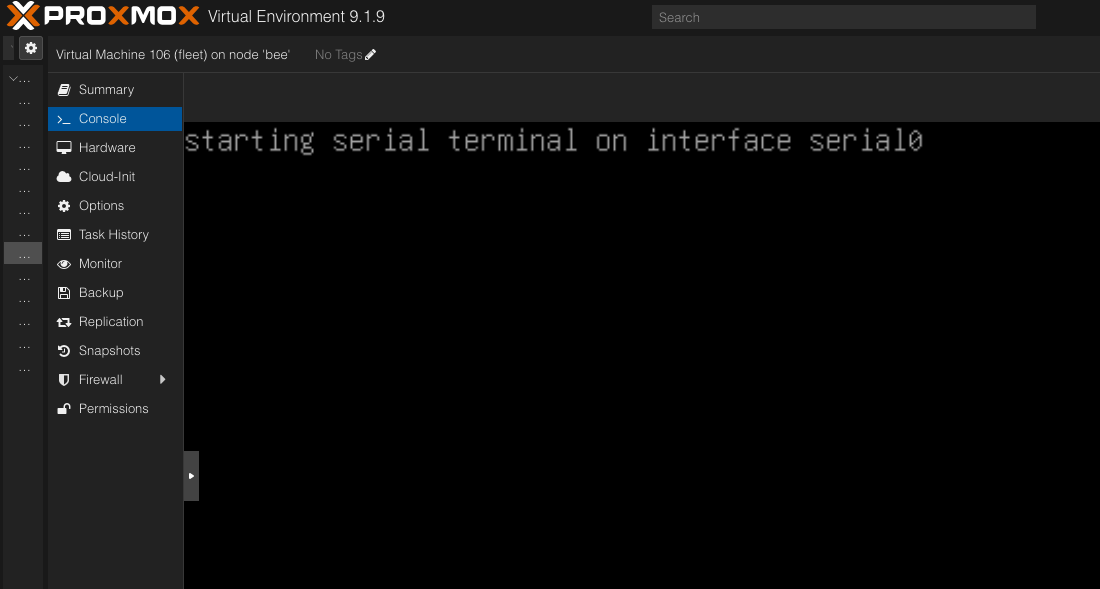
A minute or two later I had a fully booted Ubuntu 24.04 VM at 10.0.0.90, reachable over SSH with my key already in place. No installer screens, no console interaction needed.
Installing Docker
Fleet runs as a set of containers managed with Docker Compose, so the VM needs Docker installed. I followed Docker’s official install steps for Ubuntu rather than whatever version happens to be in Ubuntu’s default repos:
sudo apt update
sudo apt install -y ca-certificates curl

sudo install -m 0755 -d /etc/apt/keyrings
sudo curl -fsSL https://download.docker.com/linux/ubuntu/gpg -o /etc/apt/keyrings/docker.asc
sudo chmod a+r /etc/apt/keyrings/docker.asc
Then add Docker’s repo to apt sources:
. /etc/os-release
sudo tee /etc/apt/sources.list.d/docker.sources > /dev/null <<EOF
Types: deb
URIs: https://download.docker.com/linux/ubuntu
Suites: ${UBUNTU_CODENAME:-$VERSION_CODENAME}
Components: stable
Signed-By: /etc/apt/keyrings/docker.asc
EOF
And install:
sudo apt update
sudo apt install -y docker-ce docker-ce-cli containerd.io docker-buildx-plugin docker-compose-plugin
I verified everything was working with the standard hello-world test:
sudo docker run hello-world
Got the expected “Hello from Docker!” message, so it was time to actually deploy Fleet.
Deploying Fleet with Docker Compose
Fleet publishes an official Docker Compose file and a sample environment file, so I made a directory for the deployment and pulled both down:
sudo mkdir -p /opt/fleet-deployment
cd /opt/fleet-deployment

sudo curl -O https://raw.githubusercontent.com/fleetdm/fleet/refs/heads/main/docs/solutions/docker-compose/docker-compose.yml
sudo curl -O https://raw.githubusercontent.com/fleetdm/fleet/refs/heads/main/docs/solutions/docker-compose/env.example

sudo cp env.example .env
The .env file needs a few values filled in before Fleet will actually come up: a MySQL root password, a password for Fleet’s database user, and a private key Fleet uses internally. I generated all three with openssl rather than typing something out by hand:
openssl rand -base64 24
openssl rand -base64 24
openssl rand -base64 32
Then dropped those into .env in place of MYSQL_ROOT_PASSWORD, MYSQL_PASSWORD, and FLEET_SERVER_PRIVATE_KEY.
Certificates
Fleet needs a TLS certificate, since clients talk to it over HTTPS on port 1337. For a home lab setup a self-signed cert is fine. The important part is getting the subjectAltName right, since modern TLS validation ignores the old CN field and only checks SANs.
sudo mkdir certs

sudo openssl req -x509 -nodes -days 365 -newkey rsa:2048 \
  -keyout certs/fleet.key \
  -out certs/fleet.crt \
  -subj "/CN=fleet.local" \
  -addext "subjectAltName=DNS:localhost,DNS:fleet.local,DNS:fleet,IP:127.0.0.1,IP:10.0.0.90"
The Fleet container runs as a non-root user internally, uid 100 and gid 101, so the cert and key need to be owned accordingly or the container won’t be able to read them:
sudo chown 100:101 certs/fleet.*
Bringing it up
With the environment file and certs in place, starting Fleet was just:
sudo docker compose up -d
Docker pulled the Fleet, MySQL, and Redis images and started all three containers. I checked status with:
sudo docker compose ps
Once MySQL and Redis showed healthy and the Fleet container passed its own health check, I hit https://10.0.0.90:1337 in a browser. Since it’s a self-signed cert, the browser throws up a warning first, which is expected and fine to click through for a home network. That drops you into Fleet’s first-run setup wizard, where you create an admin account, name your organization, and set the Fleet server URL that clients will use.
I named my org TechSnazzy, which is the name I’ve used for my personal IT projects for years now.
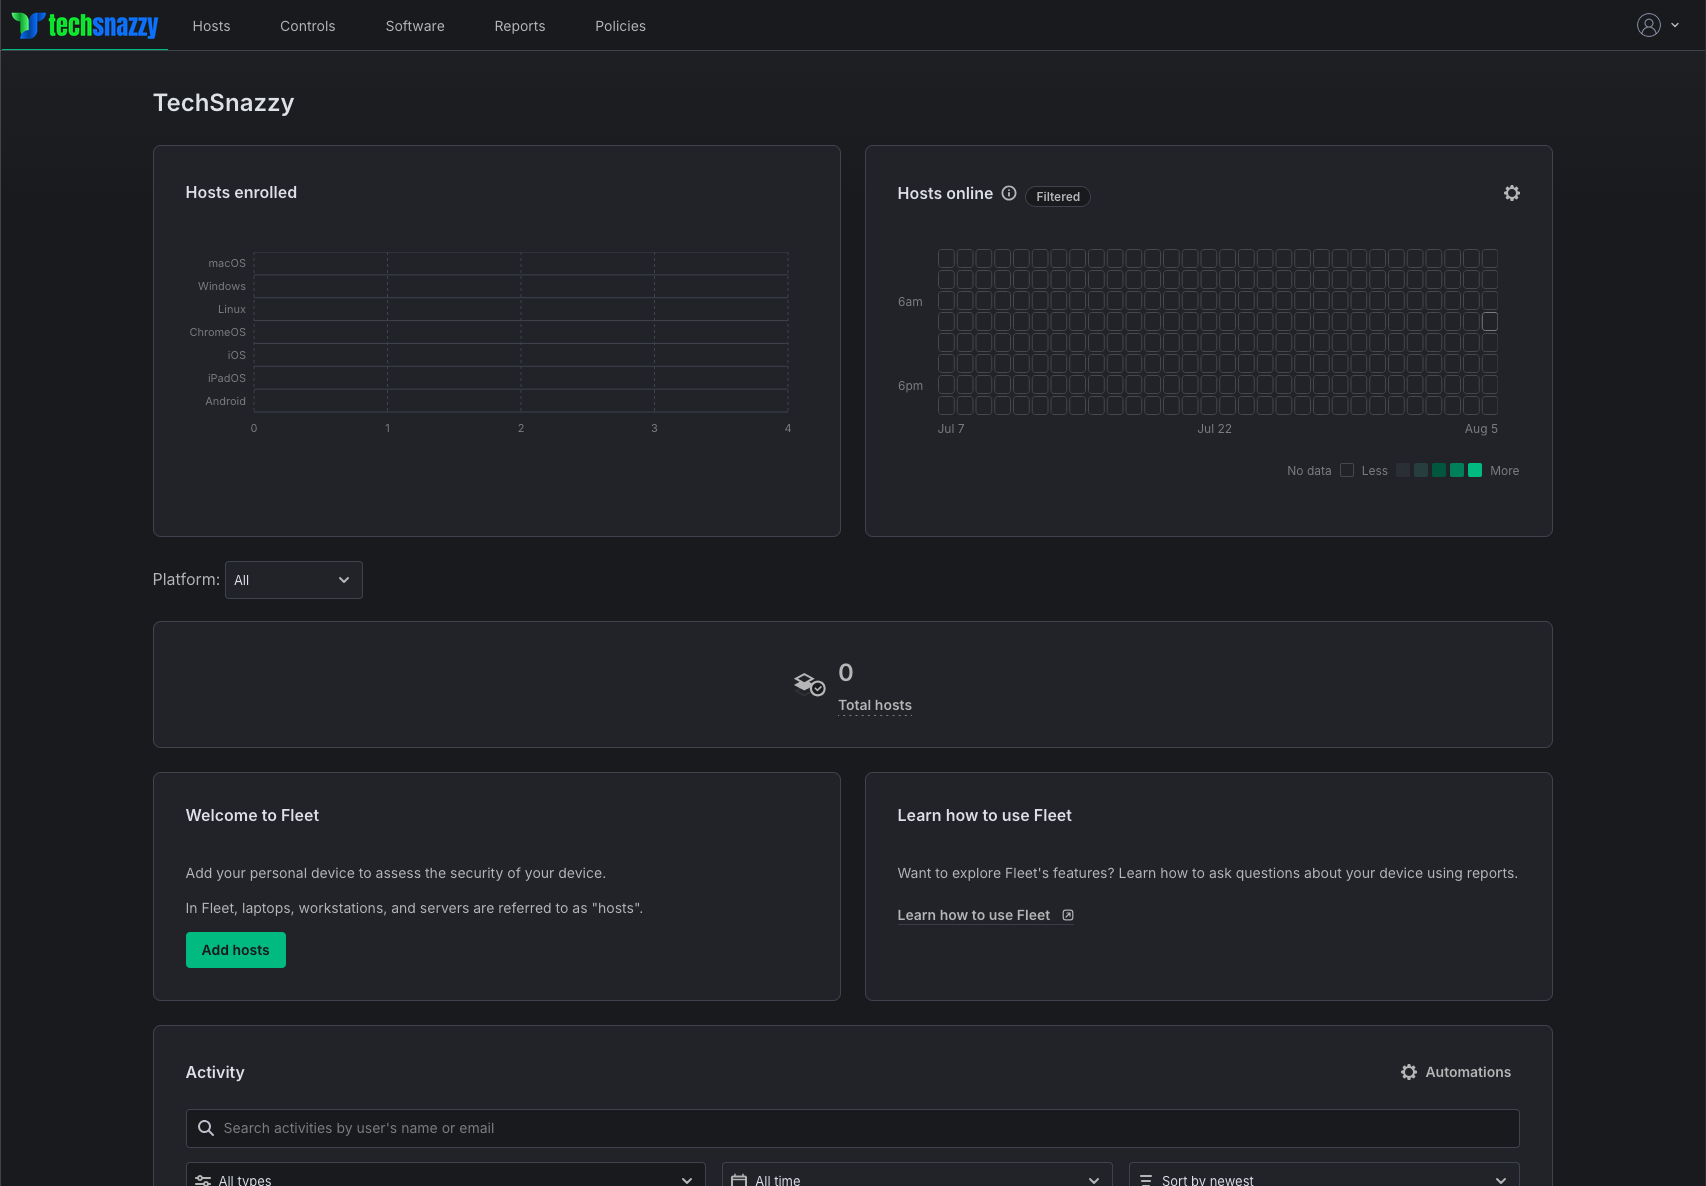
Zero hosts enrolled, which is exactly where things should be at this point. Fleet is live, reachable, and waiting for devices.
What’s next
Fleet is deployed and healthy on its own VM. The real work is still ahead of me: actually enrolling every device in the house into Fleet. Two MacBooks, a few iPads, a couple of iPhones, a Windows laptop, and a handful of other odds and ends. Each platform enrolls a little differently, so that’s going to be its own post, one that gets into the weeds on MDM profiles, osquery agent installs, and whatever headaches come up along the way.